

Free Fire, one of the most popular battle royale games globally, delivers fast-paced, adrenaline-fueled gameplay in every match. For players who thrive on aggression and constant engagement, understanding the map’s high-traffic zones is critical. These hotspots not only increase the likelihood of encountering opponents but also provide access to top-tier weapons, loot, and strategic advantages.
Mastering these areas allows players to dominate early-game skirmishes and maintain momentum throughout the match. In this guide, we will highlight the locations that consistently offer intense combat, rewarding encounters, and opportunities to showcase advanced tactics. Prepare to immerse yourself in relentless action and elevate your gameplay by learning where to drop, fight, and secure victory in Free Fire.
Read More: Best Loot Spots for Squad Duels in Free Fire
High-Action Zones for Aggressive Gameplay in Free Fire
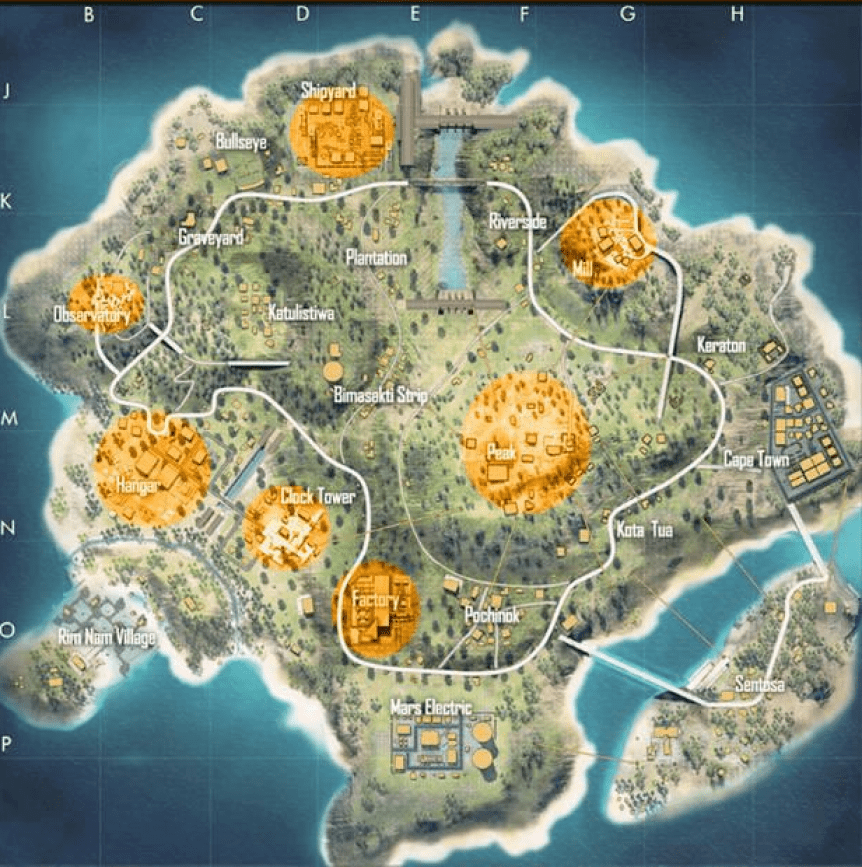
For players who thrive on nonstop combat, Free Fire offers several hotspots that promise constant action and high-intensity encounters. These areas are loaded with resources, gear, and enemies, making them perfect for aggressive strategies. Mastering these zones can give you a significant edge, allowing you to secure early kills and dominate the battlefield. Below, we break down the most action-packed locations and strategies to maximize your advantage.
Pochville: The Epicenter of Chaos
Pochville is one of the busiest towns in Free Fire, famous for its dense player activity and abundant resources. Aggressive players will find it ideal for early-game clashes and acquiring high-quality gear.
- Key Buildings: The church, gas station, and hospital are hotspots rich in weapons and supplies.
- Tips: Land quickly, equip a weapon and vest, and use buildings for cover. Plan your movements carefully to avoid ambushes.
Bermuda: The Island of Chaos
Bermuda, located in the north, is a treasure trove of resources and vehicles. It’s perfect for players seeking a fast-paced start with a strong loadout.
- Key Buildings: The laboratory and lighthouse are frequently populated and offer excellent vantage points for ambushes.
- Tips: Utilize vehicles to traverse the island quickly. Stay on the move to prevent being caught off guard and explore every corner for strategic advantages.
Solosville: The Solitary Challenge
Designed for solo encounters, Solosville often attracts players eager for one-on-one battles. It’s a proving ground for individual skill and aggressive play.
- Key Buildings: Residential homes and small businesses provide ample resources and opportunities for ambushes.
- Tips: Stay alert and use structures for cover. Quick reflexes, speed, and precision are essential to surviving and thriving in Solosville.
| Area | Characteristics | Tips |
|---|---|---|
| Pochville | High density of players and resources | Get there quickly, make sure you have a weapon and a vest, use buildings for cover |
| Bermuda | Large amount of resources and vehicles | Use vehicles to move quickly, explore every corner, stay on the move |
| Solosville | Area designed for solo players, full of direct confrontations | Stay alert, use buildings for cover, be fast and accurate |
Best Drop Spots in Free Fire: Maximize Your Early-Game Advantage
Choosing the ideal drop location in Free Fire depends on playstyle, resource needs, and team strategy. While aggressive players may favor high-traffic zones for early combat, some areas offer a balance of safety and valuable loot. Below are two top choices and tips to make the most of each.
Pochinki: The Resource Paradise
Pochinki is one of the most popular and competitive spots in Free Fire. Packed with weapons, gear, and supplies, it’s perfect for players seeking early-game action—but competition is fierce.
- Land Quickly: Secure the best items before other players arrive.
- Target Key Buildings: Focus on large houses and central structures, which usually contain the most valuable loot.
- Stay Alert: Listen for enemy movements and be ready for immediate combat.
Berms: The Safe Alternative
Berms offers a quieter, more strategic start for players who prefer to build momentum without constant early firefights. While less crowded, it still provides a solid selection of resources.
- Explore Thoroughly: Take your time to search every building and maximize loot.
- Move Cautiously: Avoid predictable paths to reduce the risk of unexpected encounters.
- Plan for the Safe Zone: Once equipped, move strategically toward the safe zone, keeping the map in mind to avoid getting caught outside.
Understanding the Safe Zone in Free Fire
The safe zone in Free Fire is a constantly changing area that gradually shrinks as the match progresses. At the start, it may cover nearly the entire map, but over time it forces players to move, adapt, and confront opponents. Staying inside the safe zone is crucial, as remaining outside causes continuous damage and can lead to elimination.
How to Identify the Safe Zone
- Green Circle: This appears on both the map and the main screen, marking the area where players are safe. Staying within it is essential.
- On-Screen Alerts: Free Fire provides alerts about the shrinking timer and the upcoming position of the safe zone.
- Alarm Sound: When approaching the edge, an audio warning signals that you need to move quickly to avoid damage.
Strategies to Stay in the Safe Zone
- Plan Your Route: Anticipate the direction and timing of the shrinking zone. Move strategically to avoid unnecessary exposure to enemies.
- Use Vehicles: Vehicles help cover long distances quickly, but be mindful of the noise they create, which can reveal your position.
- Conserve Resources: Keep adequate fuel, ammo, and medical supplies to stay prepared while navigating toward safety.
Best Skill Combos in Free Fire 2024
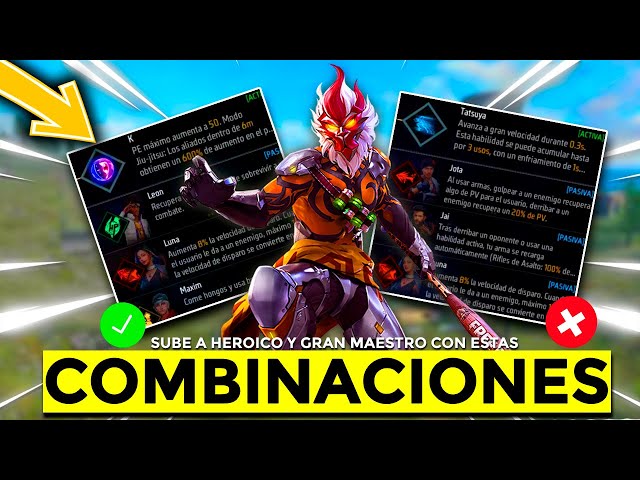
The ideal skill combo in Free Fire 2024 depends on your role and team strategy, but certain combinations consistently enhance performance and give players a competitive edge. Below are recommended skill sets tailored to damage-focused and support-focused gameplay.
Optimal DPS Skill Combo
For players aiming to maximize damage output and dominate in combat:
- Fury: Boosts fire rate and weapon damage for a short duration, perfect for close- to mid-range encounters.
- Quick Reflexes: Reduces reload time and weapon spread, maintaining high accuracy and sustained damage.
- Resurrection: Allows a teammate to revive you once per match, ensuring you can quickly return to the fight.
This combination excels in aggressive playstyles where rapid kills and continuous pressure on enemies are key.
Effective Support Skill Combo
Support players focus on keeping the team alive and providing strategic advantages:
- Healer: Increases healing speed and reduces First Aid Kit usage time, keeping teammates healthy during combat.
- Shield: Generates a temporary barrier to absorb damage, protecting both you and your team in critical situations.
- Movement Speed: Enhances mobility for faster positioning and evasion, improving reaction time and battlefield control.
This combo is ideal for players prioritizing team survival and strategic positioning over direct combat.
How to Improve Your Shooting in Free Fire
Mastering shooting in Free Fire requires a combination of precise aiming, recoil control, and understanding weapon mechanics. By refining these skills, you can significantly increase your accuracy and effectiveness in combat.
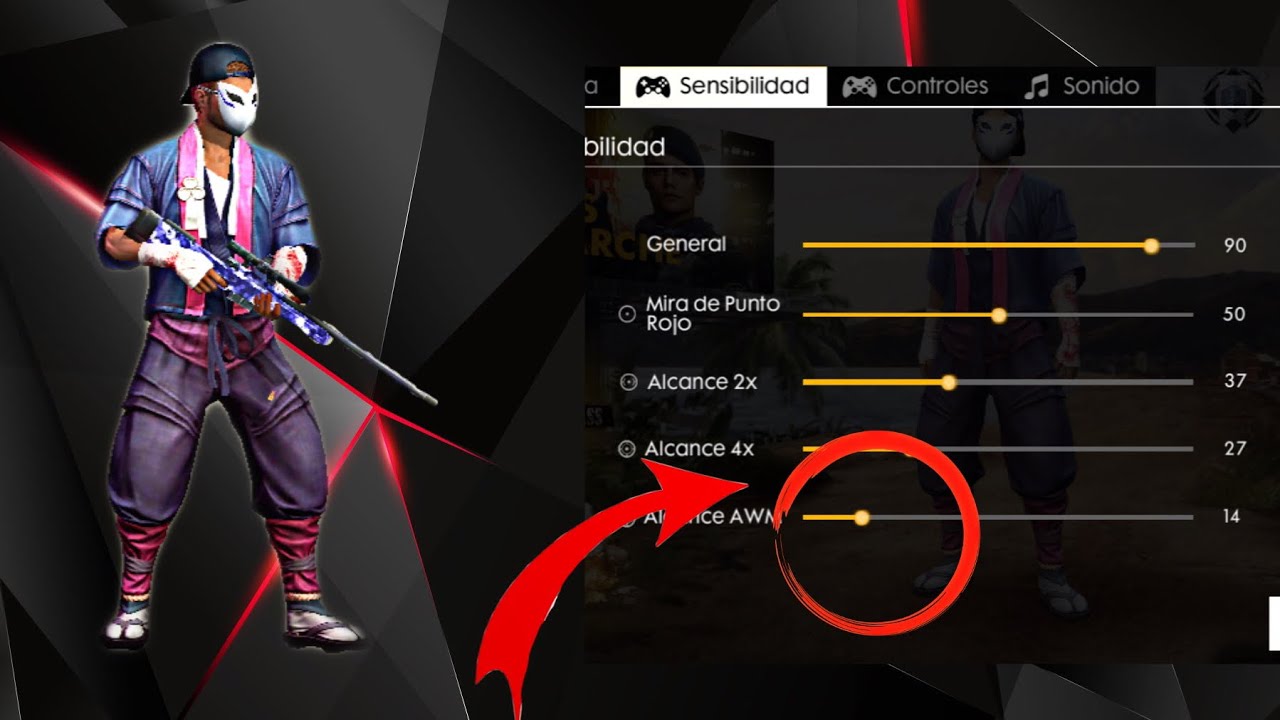
Optimize Your Aim with Scope and Sensitivity
Accurate shooting starts with proper sight settings and sensitivity adjustments:
- Adjust Your Scope: Test different scopes (1x, 2x, 4x, 6x) to match your playstyle. Higher zoom scopes excel at long-range engagements, while lower zoom scopes are ideal for close-quarters combat.
- Set Sensitivity: Configure camera and scope sensitivity so movements are smooth but responsive. It should allow quick reactions without losing control.
- Practice Regularly: Spend time in training mode or casual matches to familiarize yourself with your settings and refine your aim.
Master Recoil Control and Armor Use
Controlling recoil and using armor effectively enhances stability and shooting accuracy:
- Control Recoil: Each weapon has a unique recoil pattern. Learn to compensate by moving your sights in the opposite direction or adjusting your fire rate.
- Use Armor: Armor reduces weapon recoil, allowing for more precise shots. Always equip armor when available.
- Experiment with Weapons: Each gun behaves differently. Practice with assault rifles, submachine guns, and sniper rifles to find which suits your style and master them.
Frequently Asked Questions
What is the best place to drop in Free Fire?
Popular drop locations depend on your playstyle. Pochinki offers high-quality loot and intense early-game combat, ideal for aggressive players. Berms provides a safer start with good resources, allowing more time to prepare and move strategically toward the safe zone.
Where is the safe zone in Free Fire?
The safe zone is a shrinking area on the map marked by a green circle. Staying inside it prevents damage from the blue zone. Watch for on-screen alerts and audio warnings when approaching the edge, and plan your movement carefully.
How can I improve my shooting in Free Fire?
Optimize your aim with proper scope and sensitivity settings, practice regularly, master recoil control, and experiment with different weapons. Using armor and understanding each gun’s behavior will also improve accuracy.
What is the best skill combo in Free Fire 2024?
For aggressive DPS: Fury, Quick Reflexes, and Resurrection.
For support roles: Healer, Shield, and Movement Speed. These combos maximize damage output or team survivability depending on your role.
How do I survive outside the safe zone?
Always move toward the green circle before the zone shrinks completely. Use vehicles for faster travel, avoid open areas, and conserve health and armor resources to minimize damage.
Which areas have the most action for aggressive gameplay?
Pochville, Bermuda, and Solosville are hotspots for aggressive players. These zones have high enemy density, abundant loot, and opportunities for constant combat. Mastering these areas can give you an edge in early-game clashes.
Conclusion
Mastering Free Fire requires a combination of strategy, skill, and adaptability. Whether you prefer aggressive combat or strategic support, understanding the map, choosing the right drop locations, and optimizing your skill combos can give you a significant advantage. Staying aware of the safe zone, improving your shooting accuracy, and mastering recoil control are essential for survival and success.